
First of many posts detailing my addiction to all kinds of tape!
My tini, tiny kitchen was experiencing all kinds of bla. Something had to be done. Seeing lots of tape wall images on pinterest, my wheels started churning…


Surprisingly enough, my greatest inspiration came from my Method Limited Edition Lime and Sea Salt packaging as far as color…

…Some light houses in the Outer Banks, you can see this print hanging in the hallway in some of my kitchen images.

My biggest inspiration and push to do this project actually was this sparkly nail art design I repinned from my best friend. If you could make these patterns with tape on your lil nails, my pilasters shouldn’t be a problem

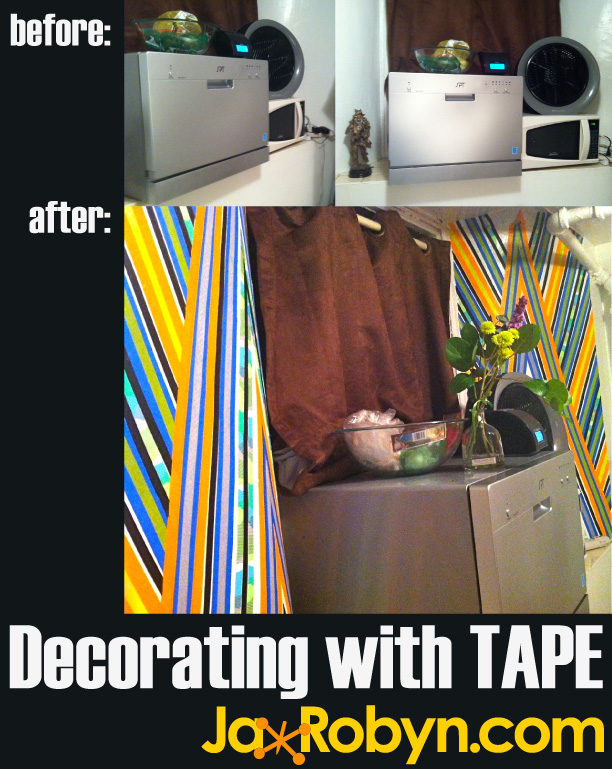
And it was that easy! I first measured the girth of my pilasters and marked the center on top. I ran my tape from the corners up to the middle to form the 1st triangle. From there, I placed scraps of tape on either side of the tape’s edges and ran another piece of tape on either side, then removing the scraps to form evenly spaced lines. I used an exacto blade and ruler to clean up the edges and form perfect v’s at the tips. The next day, when tape started to peel off, I took a dollar store glue stick and reapplied the tape. It hasn’t peeled off since, but is still removable when my lease is up!

The project cost about $40 in tape, which I have a ton of left overs for another project!
I’m sure you can identify the Scotch Painter’s Tape on the wall. I found some orange artist’s tape at AI Friedman, it was about $7 in the store for 60 yard roll. I found some fun washi tape at Madewell for $4 a roll – I ended up buying about 6! There are some cheaper alternatives to washi tape all over the internet and endless possibilities to decorate with it!


Leave a comment